
DIY Glam Ornament Wreath
I’ve seen ornament wreaths on Pinterest and elsewhere online for years and I’ve always wanted to make one. This year I finally got the materials together and warmed up my hot glue gun! I hadn’t been planning on writing out a tutorial, but I love how my wreath turned out, so I thought I would post a step-by-step of how I put mine together. In other words, please forgive my progress photos because I wasn’t sure if I would even be trying to post them. Thanks lol.


You will need:
Wreath Base
Tinsel Garland (I used two smaller lengths)
Regular-sized Shatterproof Ball Ornaments (I used 50 on mine)
Medium and Small-sized Shatterproof Ball Ornaments
Large Jingle Bells (I used 20 total, but in two different tones of metal)
Other non-round ornaments to add dimension (I used glitter bells)
Ornaments or figurines to use as a “focal point” (I used a glitter reindeer and a snowflake ornament cut into two pieces)
Glue Gun and lots of hot glue
Some extra tips:
Stick to a specific color way that will match your decor. I chose gold, silver, and rose gold. Staying within your color scheme helps the finished wreath look cohesive. You’ll see in the photo that I purchased more things than are listed in the materials, but they didn’t fit with the color scheme, so I decided not to used them.
I found just about everything at the dollar store (99 Cents Only and Dollar Tree). The only things I didn’t buy at a dollar store were the wreath base, because I used one I already had, and the main ornaments, because I found some on sale at Michael’s that were perfect for the color scheme I wanted to use. There are usually ornaments and wreath bases available at these stores, so you can recreate this project for even less!
Instructions:
First, lay out your wreath base and plug in that glue gun. You are going to be BFF’s with your glue gun for this project. By the time I was done, I had a blister on my finger from pushing the trigger so much.


Glue one end of your tinsel garland down to the back of your wreath base. Wrap the base with the garland until the whole base is covered. I used two lengths of garland, so I made sure the first piece covered at least one half of the base. If you’re using wimpy dollar store garland like I did, you’ll definitely want two strands, so that you don’t have too many gaps. Wrapping the wreath base gives you more surface to work with when you start adding ornaments and the tinsel fills in any small spaces between the ornaments.


Once your wreath base is ready, pull out your largest ball ornaments and sort them into groups. The pack I bought had five different variations, so I sorted them that way. You will also want to remove the metal tops that attach the hangers. Going one group at a time, add your ornaments evenly around the wreath base. You can see in the top right corner that I have a cluster of different ornaments, as I tried that technique first, but spreading the ornaments out one color at a time was definitely much easier and more effective. Hot glue liberally around the opening where you removed the metal hanger top and push it into the base.


Continue this with each color group until most of your wreath is covered. Don’t forget to add ornaments to the inner and outer edges, as well, and make sure that your wreath stays flat on your work surface so that it still balances well when its hanging up on your flat door. I bought a 50 pack of ornaments and I used all of them on my larger wreath frame.


Next, you’ll add your medium-sized ornaments in the same way. I had a 12 pack of that size in three different gold variations, so I spread mine out in the same way as I did with the larger ornaments, filling in the gaps between the large ornaments. Then, I added my bell ornaments and jingle bells, since those were of comparable sizes. Again, I used the same technique to spread out the colors around my whole wreath, aiming to fill in any open space between ornaments.


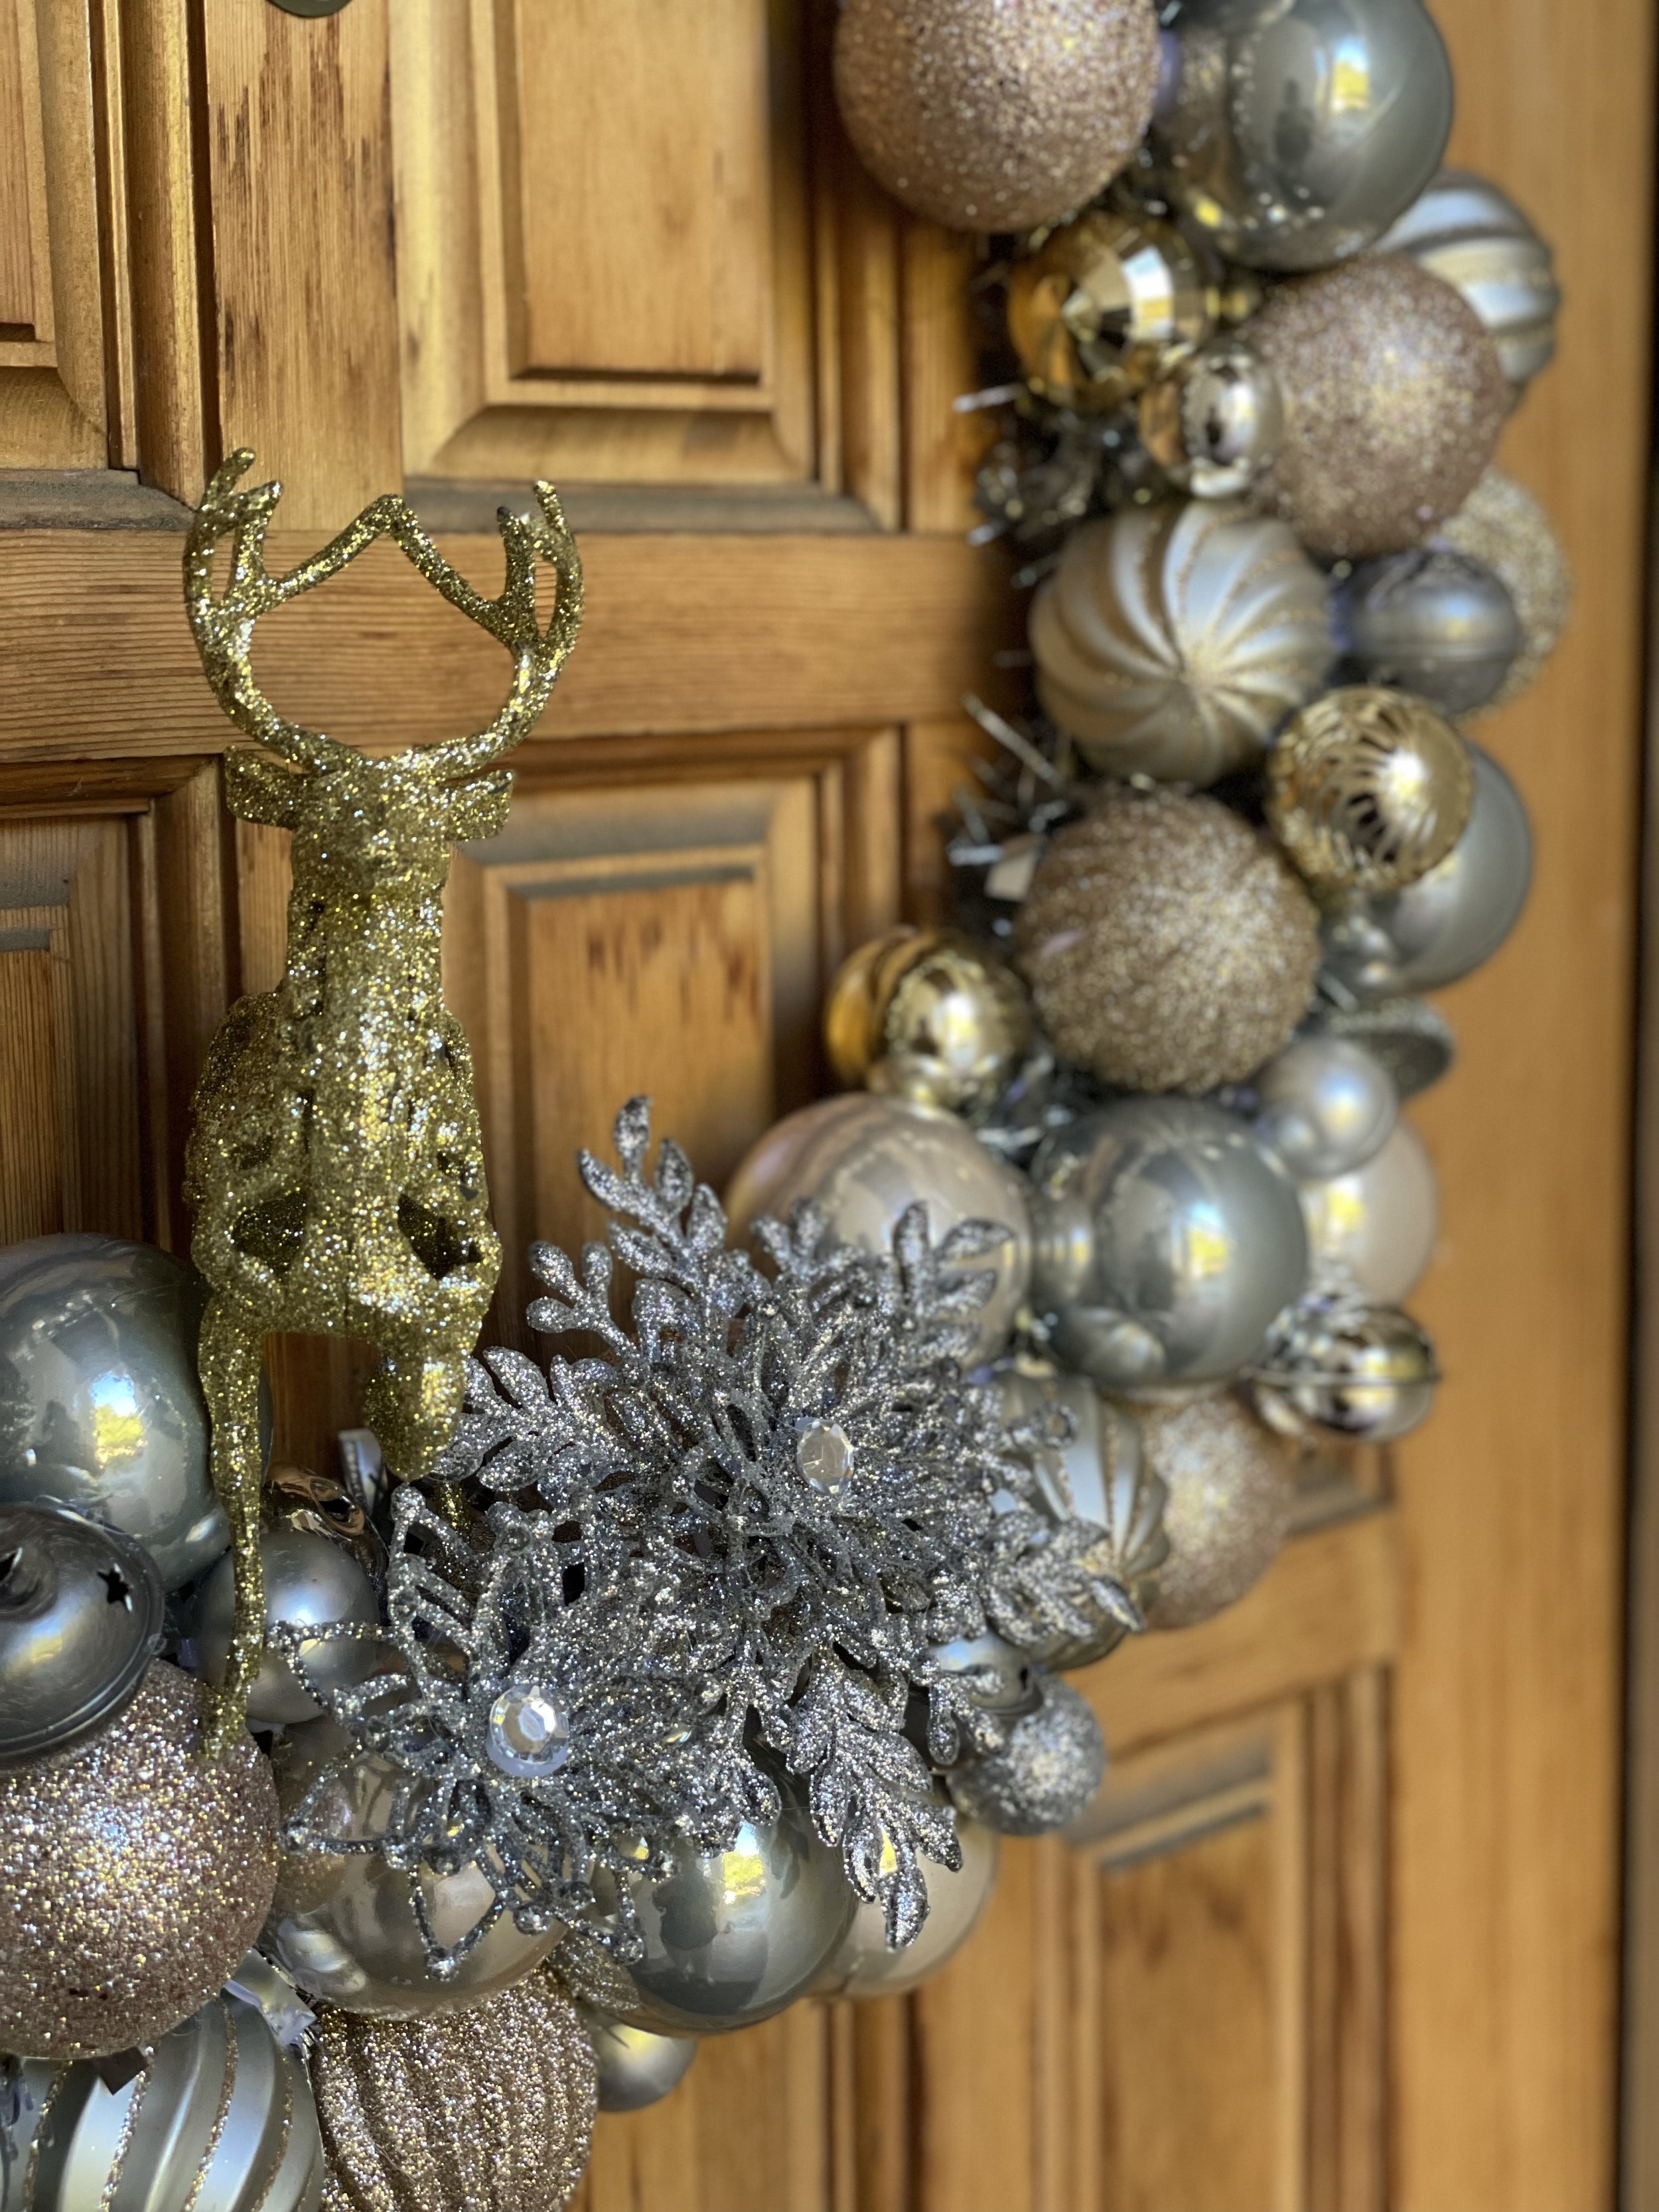
To finish off my wreath, I laid out the larger pieces I wanted to use as an interest point— the glitter reindeer and snowflake ornaments. I cut up the double-sided snowflake to make it into one larger and one smaller piece. Once I had an idea of how I wanted them arranged, I added my smallest ornaments (all of the tiny ones in different silvers), filling in spaces, as well as adding them to the tops of other ornament groups to create dimension. I made sure to leave space for my deer and snowflakes, glueing those down last. Check around your wreath to see if there are any loose ornaments and add more hot glue as needed for extra stability. You can also add a hanger to the back of your wreath, depending on how you plan to hang your wreath.

I am so obsessed with how this project turned out. I love the color combination I chose, though I might try this again in gold and sage green tones because I really love the look of Christmas greens. Its amazing that a bunch of stuff from the dollar store can turn into such a stunning and expensive-looking decoration. This wreath definitely adds a ton of sparkle and glam to my front porch, and I love how the little bells jingle every time I pop out to retrieve my amazon packages.

What did you think of this festive DIY project? Will you try this one? It was such a simple and inexpensive project that packs a lot of punch— I was honestly surprised. If you try this project, tag me on socials so I can see how it turned out!


