DIY LoveShackFancy Inspired Tie-Dye Dress
When I found out that my monthly book club meeting was going to include a tie-dye activity, naturally, I asked myself, How extra can I possibly be? WELL.
Having already tie dyed a bunch of random t-shirts in the last year (thanks, pandemic!), I decided I was going to use this opportunity to make something super cute and wearable. I’ve been loving the super cute tie-dye pieces that LoveShackFancy has been releasing and was inspired by their colors and dye patterns when I was thinking about this project.
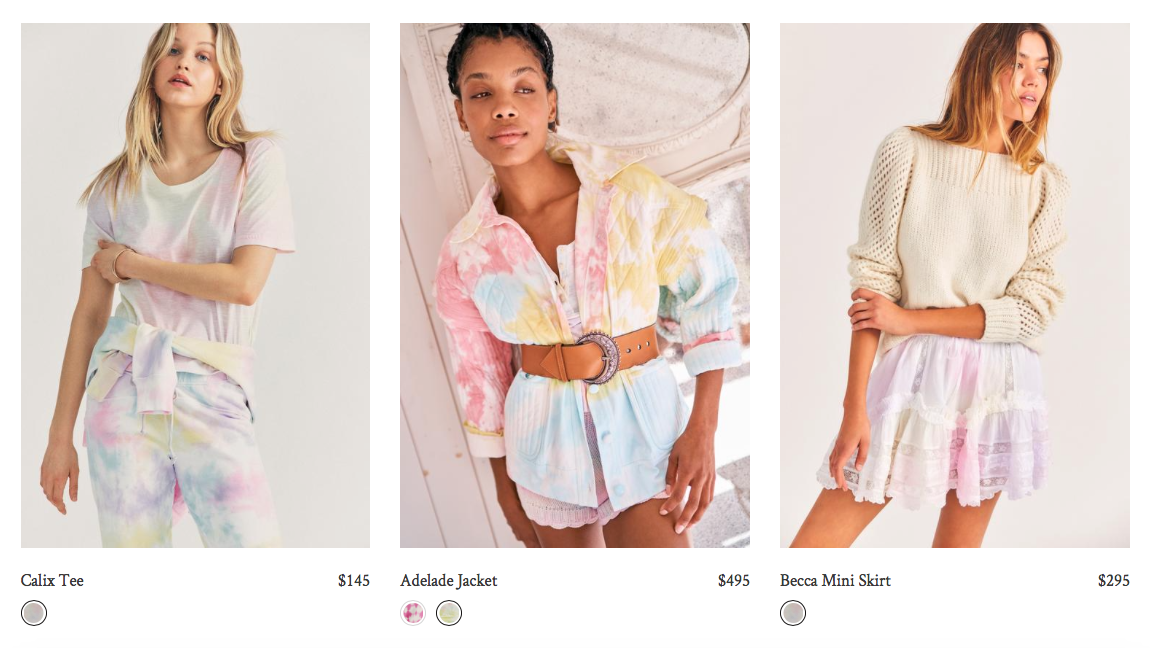

Like HELLO, these are amazing and so pretty and so much more elevated than your regular tie dye tee that you end up wearing to the gym and to bed. I wanted to make something like this Gwen Dress.
What makes these so different from boring regular run-of-the-mill tie dye? First of all, the base of these pieces are things you would wear out and about normally, like blouses, skirts, and dresses, not just basic tees (not that theres anything wrong with a basic tee!). Also, the juxtaposition makes these so much more interesting. Its so unique to see tie-dyed lace! My other favorite thing about these is the tone of the color. Usually when you think of tie-dye, you think of loud colors, bright spirals, and just an overwhelm on your eyes. LoveShackFancy always does an amazing job of keeping their pieces delicate and feminine, so I was really inspired by the light colors and the dainty cloud-like feel of the dyes. I had to try this out myself!
I grabbed a couple of simple eyelet lace pieces off of Amazon (I forgot how to do affiliate links lol but I bought this top and this skirt). I chose separates so that I could split them up into different outfits if I wanted, but you can literally do this on anything white. Look for cotton pieces as those usually hold those cheap packs of dye better. My pro tip is to wash your pieces once before you dye them. Often times, manufacturers— especially when you shop cheap fast fashion like amazon, will spray chemicals on the clothes before they’re shipped to protect the garments in transit. These chemicals will often make the dye bead up on top of the fabric instead of soaking in like you want it to.
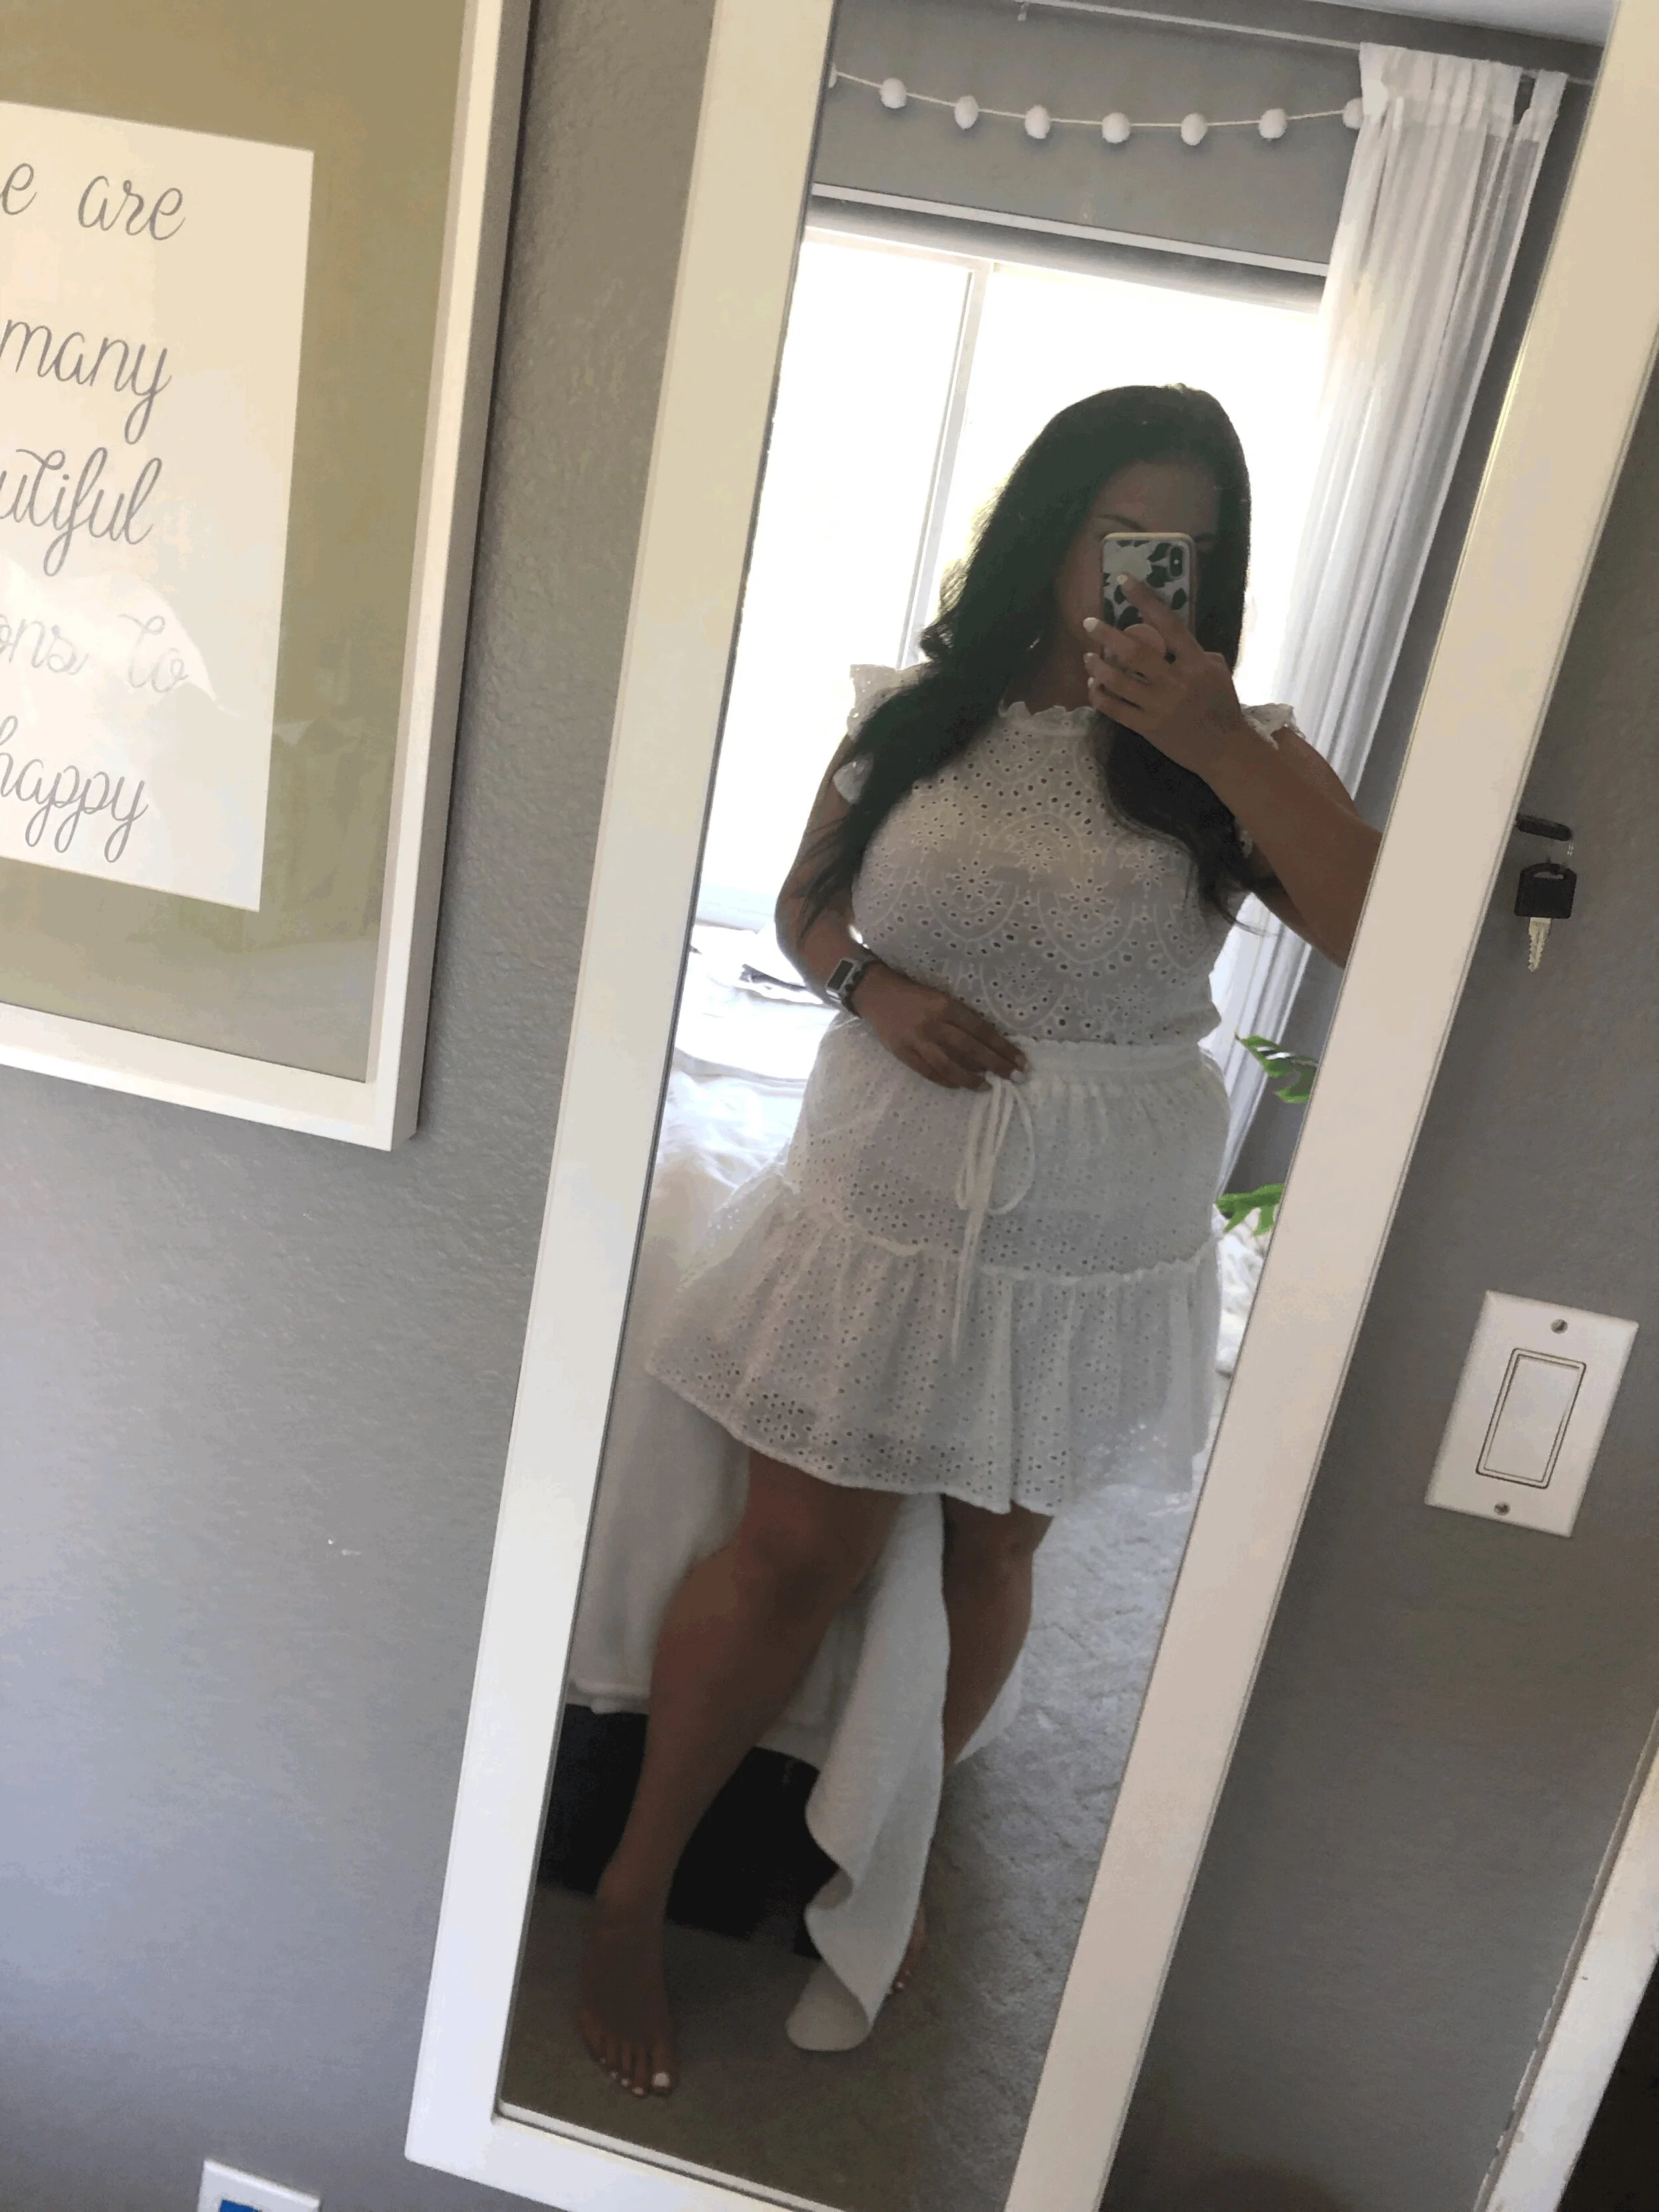
When dyeing my pieces, I first soaked everything in water. If you want that “cloud-like” effect, getting your pieces wet will help the dye spread. Then, I just crumpled everything into a ball and threw the dye on. There was really no technique to this and you can’t do it wrong. I un-bunched it once to make sure I got dye on enough of the fabric and that the colors were the way I wanted, and I added more dye to spots that were too empty. I’m not sure what dye I used, because our lovely book club meting hostess provided those, but it was just one of those basic craft store packs. She did have a pastel kit, so I tried to stick to the colors from that one. Usually, you’re supposed to let the dye set for quite a while before washing them out, but I only waited about eight hours. Book club was around noon and I washed them that night, first rinsing the pieces out really well in the bathtub and then washing and drying like normal. I really wanted a faded pastel effect, so I washed early to keep the dye from setting too boldly.

And here is my finished set! I love the way these turned out and I’m excited to wear the pieces together and seperately. LoveShackFancy has so many beautiful pieces— I just got one of their tops in my monthly Nuuly box and the quality is incomparable. Someday I hope to have a closet full of their beautiful designs, but for now, I’m having so much fun DIY’ing my own versions!
What do you think? Did this project turn out like the inspiration piece? Would you make your own or would you save up for the OG LoveShackFancy version? If you’re trying this DIY yourself, I’d love to see it! Leave a comment and let me know how it goes!