DIY Rhinestone Mandala Faux Fur Coat

I spotted these looks from Victor & Rolf’s Autumn/Winter 2021 “The New Royals” Couture collection and I knew I had to create my own version. V&R’s avant-garde fashion house always has so many beautiful DIY-able looks, but I love these opulent overdone pieces.
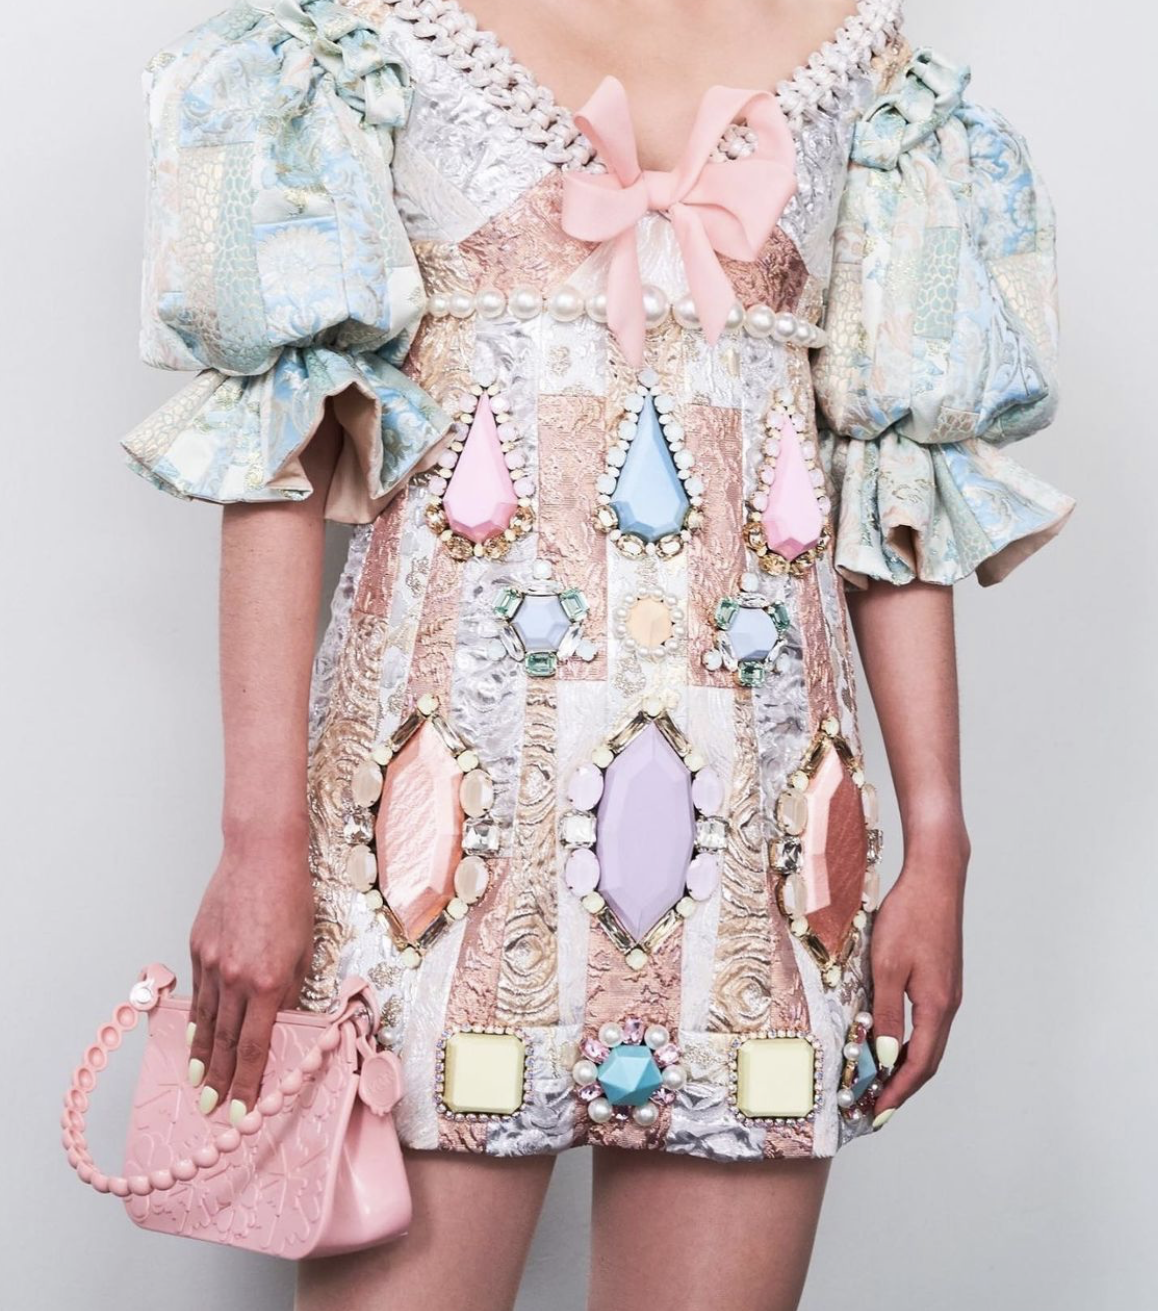
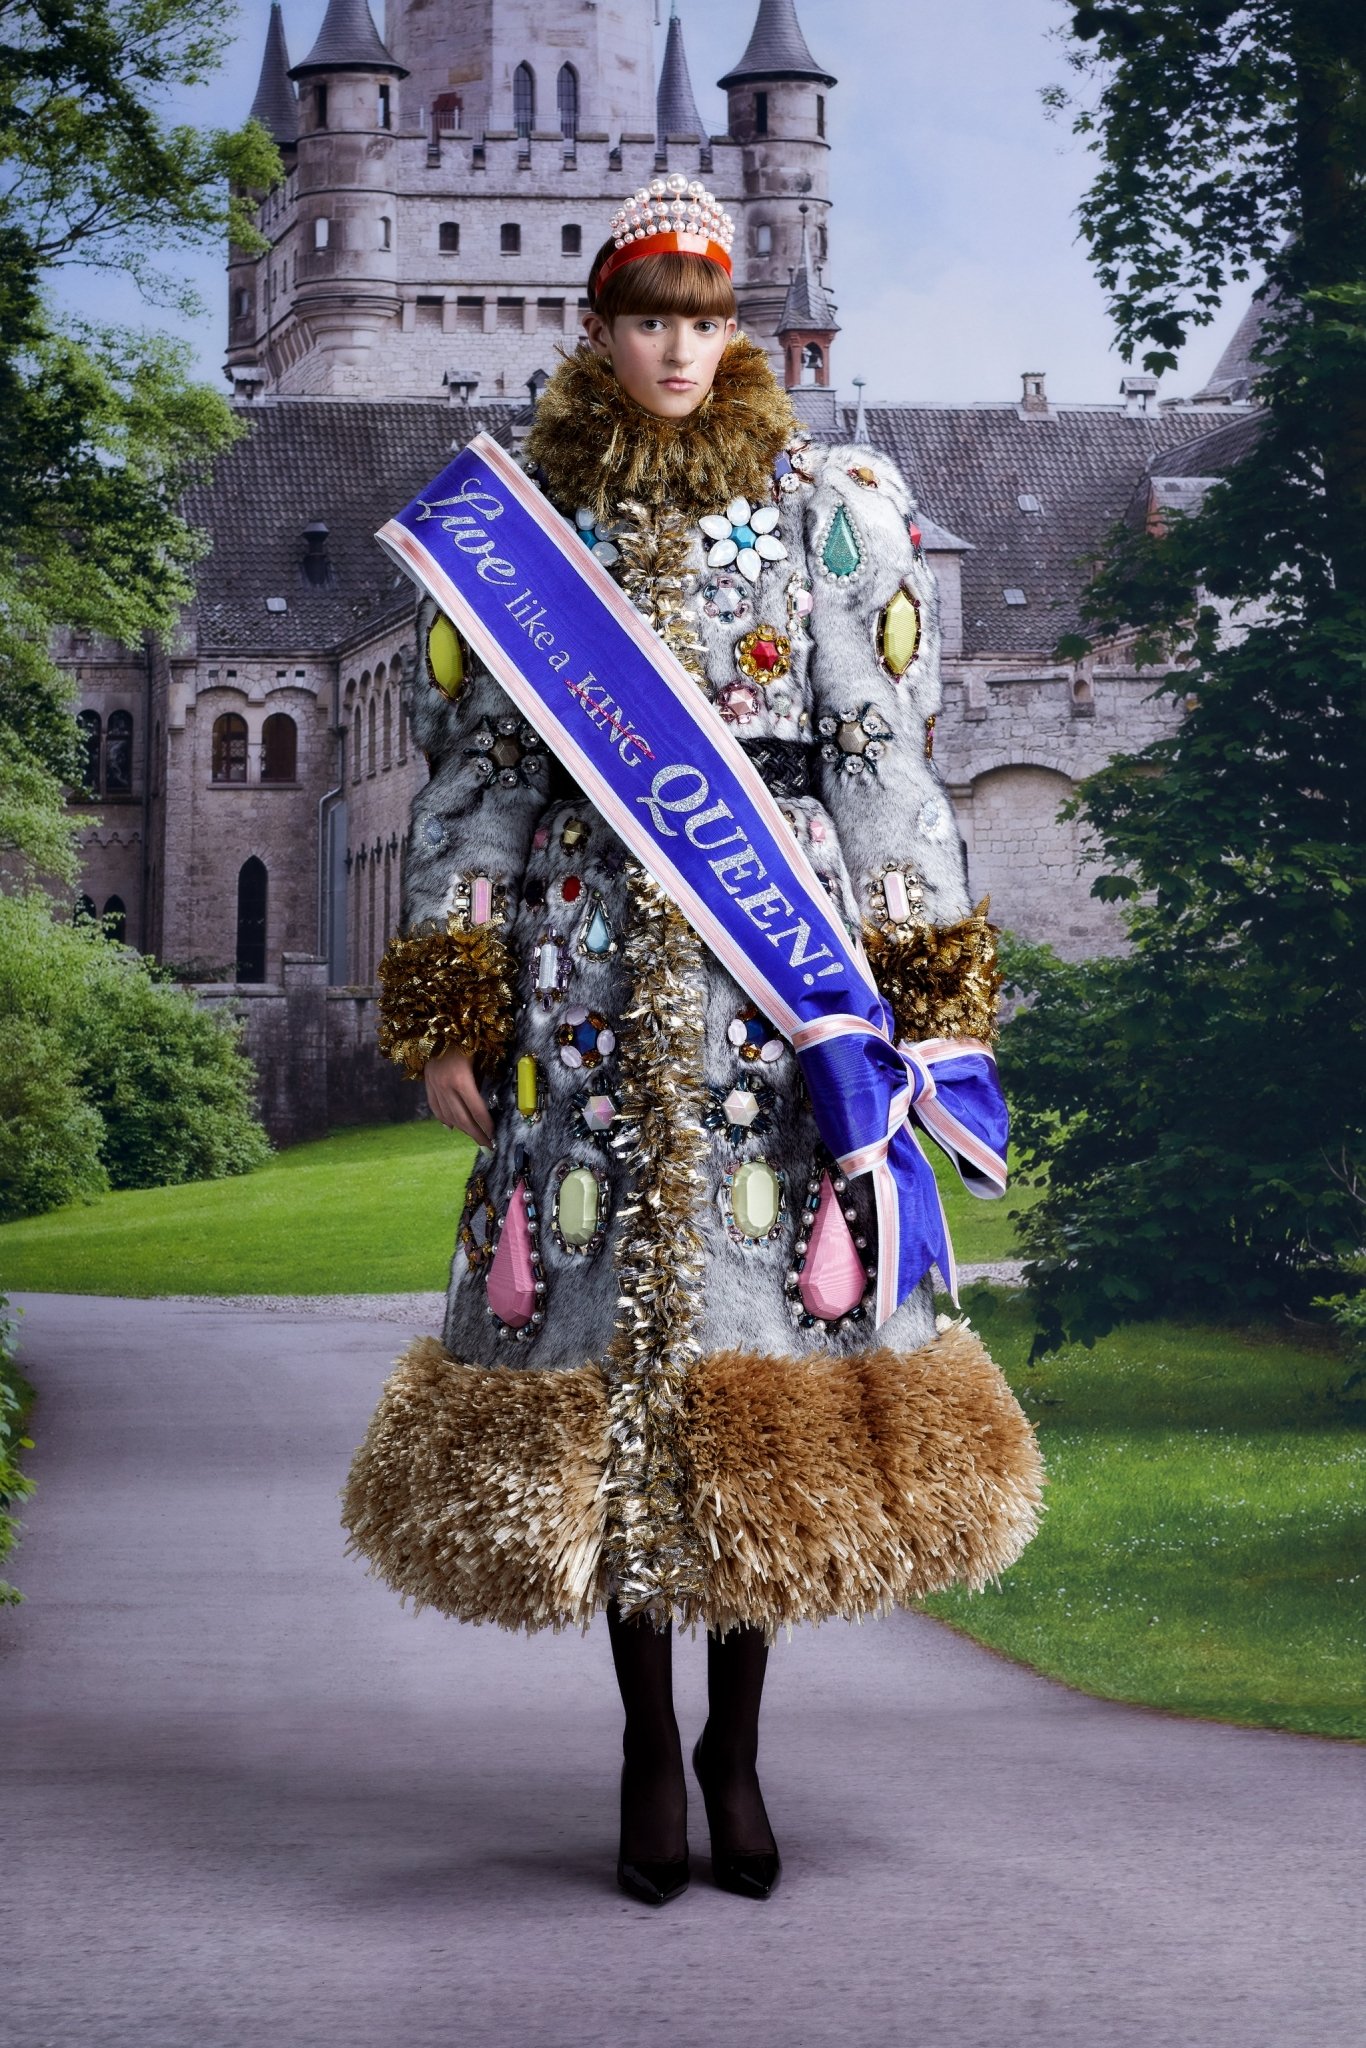
The giant gems were what really caught my eye, but it looks like they’re made out of wood, a medium to which my DIY abilities do not yet extend. I considered making giant gems out of paper mâché, buuuttttttt…meh. Using the resources I could acquire made quite the departure from the original inspiration, but derivation does keep me from feeling like I “copied” the original, and I feel like my end product is quite wearable.

YOU WILL NEED:
So many rhinestones! Make sure you get varying shapes, sizes, and colors.
Faux Fur jacket
Hot glue gun and hot glue sticks

INSTRUCTIONS:
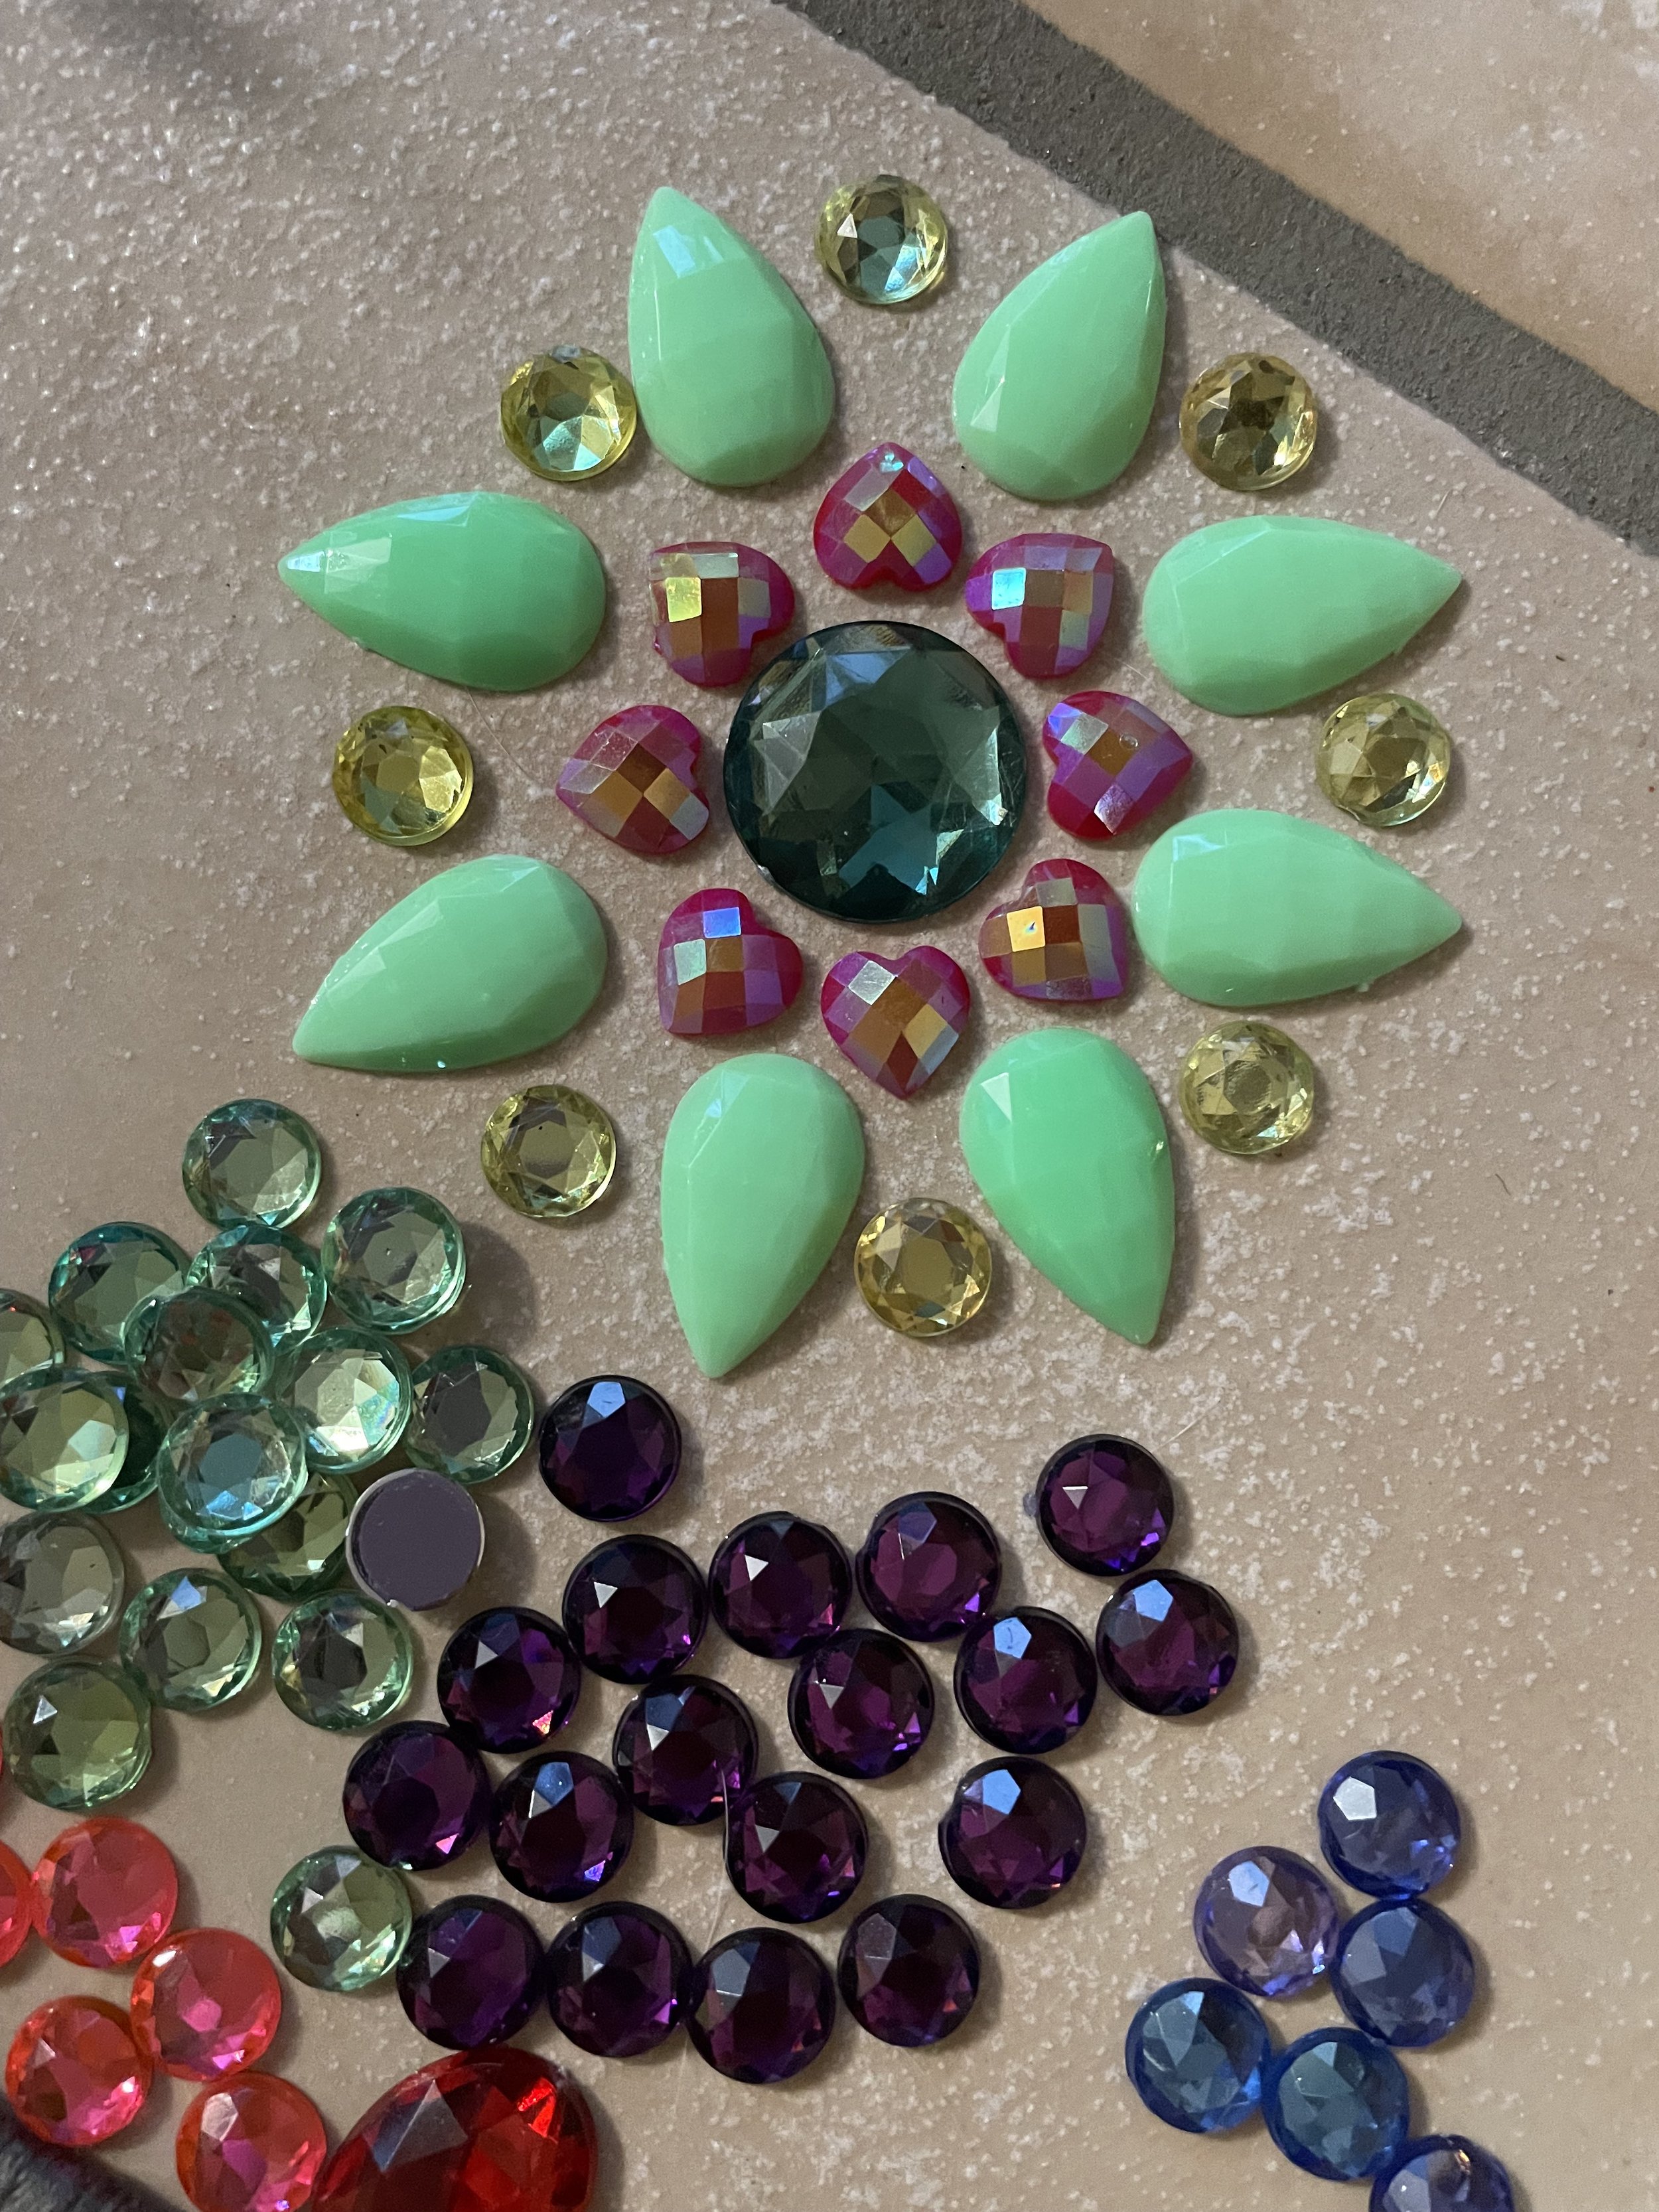
Start by laying out your rhinestones in the configurations you like. Viktor and Rolf’s version has one supersized stone bordered by smaller stones. Because we are using smaller stones, we will group them so that they take up a similar amount of space.
Start with your larger “focal” stone in the center and border it with smaller stones in several layered circles— sort of like a mandala. Keep the colors the same to make it look like one larger stone, or alternate the shades and colors to create more interest. As each of my stone groupings were so different, I did try to keep them all about 5-6 inches across, for consistency, but I did try a few different grouping shapes for some fun.
Heat up your hot glue gun and eyeball where you want each of your rhinestone groupings to go on your jacket. This part doesn’t have to be perfect, but make sure you leave yourself enough room to have a little bit of space between each grouping and so that the jacket balances visually. When you glue everything down, because of the faux fur, your pattern might shift and spread out a little bit, so keep that in mind.
Start hot glueing with the center stone and work your way outwards, row by row. Repeat with each grouping until you’ve got the look you want. Try to brush the nap of your faux fur in one direction before each grouping to make the glueing easier and keep your rhinestones from separating your pattern too much.

This DIY definitely didn’t turn out the way I initially imagined it when I first found the inspiration photos from the Viktor and Rolf collection, but I still love the way the final product turned out. It’s unique, colorful, and fun, which is common with a lot of details from the original inspiration piece.
If I wanted to elevate this project a little bit more and make it look closer to the inspiration piece, I would add a contrasting colored faux fur or long maribou trim to the collar, and maybe even a “royal” sash with a fun slogan on it and tied in a bow at the hip. And pearls? Does it need pearl trim? Somebody maybe Neds to stop me before I overdo it.
As it is now, this cute little jacket is wearable and unique. I think it would pair well with a simple mini-dress or over a basic tee and jeans. It could be worn to dress up a simple night-out outfit or to add some playfulness to a boring errands outfit. Either way, this piece makes a statement and will show off your fun and creative personality!
What do you think? Should I have gone all-out with trims and a royal sash? Should I keep adding to this piece to make it more like the original inspo? Maybe I’ll re-DIY this one in the future. If you make this project, be sure to tag me so I can see it!